Understanding the Importance of a Relay Test
When a device suddenly stops working, the problem often traces back to a faulty relay. Relays are small yet powerful switches that control electrical circuits, acting as the bridge between low-power control systems and high-power devices. Whether you’re dealing with automotive systems, industrial machinery, or home appliances, knowing how to test a relay can save both time and money.
At ODG, we believe in empowering engineers, technicians, and DIY enthusiasts with the knowledge and tools needed to troubleshoot effectively. With millions of parts in our inventory and a team driven by precision, ODG provides not only high-quality components but also the insight to use them efficiently.
What Is a Relay and Why Does It Matter?
A relay works like an automated switch. When current flows through its coil, it creates a magnetic field that pulls a contact to open or close a circuit. This allows a small input signal to control much larger electrical loads.
Relays are used across industries—automotive ignition systems, HVAC units, telecommunications, and industrial automation all depend on them. Because of this, understanding how to test a relay isn’t just a repair skill—it’s an essential diagnostic ability.
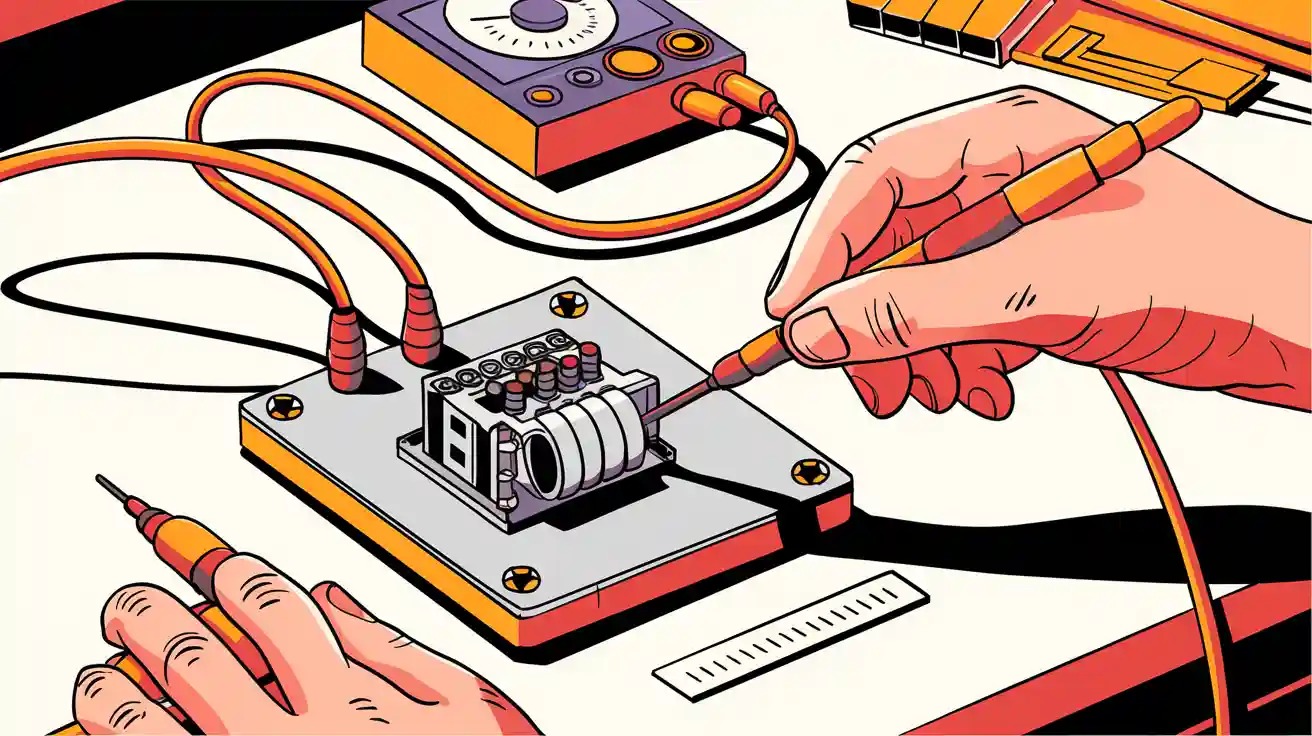
Essential Tools You’ll Need
Before starting, gather the right tools. Testing a relay doesn’t require complex instruments, just a few reliable basics:
-
Multimeter – To measure resistance and voltage.
-
Jumper wires – For connecting power safely.
-
Power source (usually 12V DC) – To energize the relay.
-
Protective gloves and safety glasses – Safety always comes first.
With these tools in hand, you can proceed confidently through the testing steps.
Step 1: Inspect the Relay for Physical Damage
Visual inspection is the simplest yet most overlooked step. Check for burn marks, corrosion, cracked housing, or melted terminals. Even minor damage can interrupt conductivity or cause unreliable switching.
If the relay looks damaged, replace it before moving forward. Testing a physically compromised relay may yield inconsistent results or further damage your equipment.
Step 2: Identify the Pin Layout
Every relay has pins that correspond to specific functions—usually for the coil, common terminal, normally open (NO), and normally closed (NC) contacts. Many relays have a diagram printed on the casing.
If not, consult the datasheet for the correct layout. Identifying these pins ensures accurate testing, especially when measuring continuity and resistance.
Step 3: Test the Coil with a Multimeter
Switch your multimeter to the resistance (ohm) setting. Connect the probes to the coil terminals.
A healthy relay coil typically shows some resistance—neither zero (short circuit) nor infinite (open circuit). The exact resistance varies by model but usually falls between 50–200 ohms for standard 12V relays.
-
If the multimeter reads infinite resistance: The coil is open and the relay cannot activate.
-
If the multimeter reads zero: The coil is shorted and must be replaced.
This test verifies whether the relay’s electromagnetic mechanism is functional.
Step 4: Energize the Coil and Listen for the Click
Once you confirm the coil’s health, connect the relay to a power source using jumper wires. Be sure to match the correct voltage rating—most automotive relays, for example, operate on 12V DC.
When the coil energizes, you should hear a distinct “click.” This sound indicates that the internal switch has moved between contacts. No click usually means the relay is not functioning, even if the coil showed resistance earlier.
Step 5: Check the Switching Function
Now it’s time to see if the relay actually performs its job—switching electrical connections correctly.
-
With the coil unpowered, measure continuity between the common (COM) and normally closed (NC) terminals. There should be a connection.
-
Then power the coil and measure between COM and normally open (NO). The continuity should now shift to the NO terminal.
If the relay does not switch properly, it may have worn contacts or internal mechanical issues.
Step 6: Test with Load Conditions (Optional but Recommended)
Relays can sometimes pass all electrical tests yet fail under real operating conditions. To simulate real-world performance, connect the relay to a small test load, such as a light bulb or resistor, and activate it with a control circuit.
This test helps verify if the relay can handle its rated current without voltage drops, heat buildup, or contact sticking.
Why Reliable Relays Matter
In high-stakes applications—like aerospace, automotive safety systems, or medical devices—a single relay failure can trigger system-wide issues. That’s why reliability is more than a feature; it’s a necessity.
At ODG, our strict Quality Assurance (QA) and Quality Control (QC) systems ensure every product meets international standards such as AS9120B, ISO9001, and ISO14001. As proud members of ERAI, we uphold transparency and authenticity in every part we supply.
Our expert staff doesn’t just distribute components—they guide clients through technical challenges, helping them identify the right parts for their systems. This level of support makes ODG more than a supplier; we are a trusted partner in innovation.
Common Relay Testing Mistakes to Avoid
Even experienced technicians can make small errors that lead to incorrect conclusions. Keep these in mind:
-
Testing without understanding the pin layout – Can cause false readings or short circuits.
-
Skipping coil polarity – Some relays are polarity-sensitive; reversing connections can damage them.
-
Using incorrect voltage – Over-voltage can burn coils, while under-voltage may not activate them.
-
Ignoring environmental factors – Moisture and dust can affect test accuracy.
Avoiding these pitfalls ensures that your test results reflect the true health of the relay.
How ODG Supports Precision Testing and Reliable Components
Relays represent only a fraction of the millions of parts available at ODG. Our inventory spans components designed for demanding industries, ensuring that engineers and OEMs have immediate access to high-quality solutions.
Every item undergoes rigorous inspection under our advanced QA and QC protocols, reinforcing our commitment to dependability. Our adaptability and customer-first approach allow us to meet diverse technical demands across global markets.
By combining a vast product range, certified quality processes, and an experienced team, ODG ensures that customers receive not just components—but confidence in every connection.
Looking Ahead
Mastering how to test a relay builds the foundation for smarter troubleshooting and safer electrical systems. Each accurate test enhances system reliability, prevents downtime, and protects valuable equipment.
For engineers, technicians, and manufacturers alike, ODG stands ready to supply the quality components and technical expertise that drive lasting performance. Testing a relay is just the beginning—maintaining quality, reliability, and trust is where true engineering excellence continues.
Follow ODG:
YouTube: https://www.youtube.com/@Origin_Data Facebook: https://www.facebook.com/OriginDataGlobalLimited Twitter: https://twitter.com/Origin_IC Tiktok:
https://www.tiktok.com/@origin_data Szxlxc:
https://www.szxlxc.com